
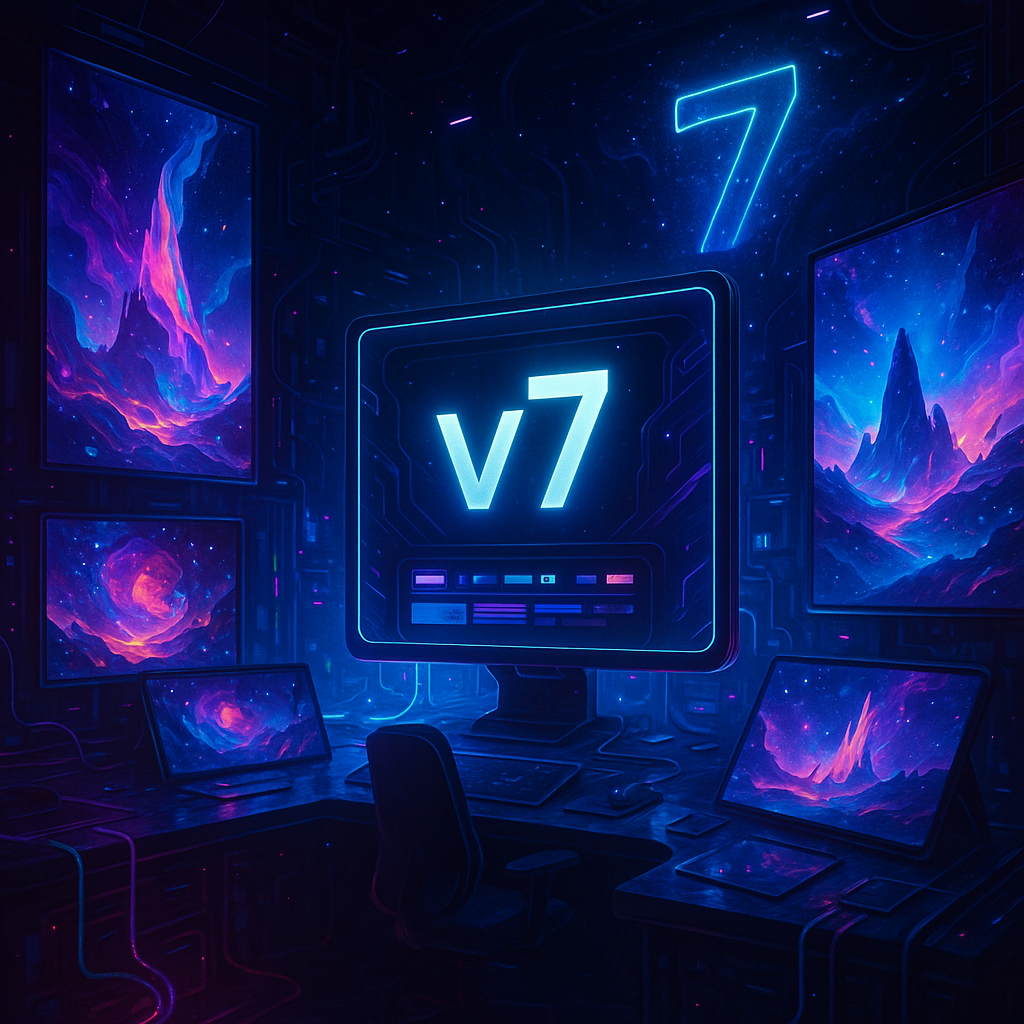
Midjourney V7 now available
Great news—Midjourney has launched its first native video-generation feature in version 7 (currently rolling out), allowing you to animate stills directly within the platform.
Here’s a detailed breakdown of what it offers and how you can leverage it for your video content:
⸻
🎬 What Midjourney v7 Video Can Do
• Animate images: After generating or uploading an image, you can click “Animate”, which creates a short video clip—usually 5 seconds, extendable by 4‑second increments, up to 21 seconds total
⚒️ Automatic and manual modes:
• Automatic: Applies pre-defined motion patterns (camera or subject movement) with a single click.
• Manual: Lets you describe the motion in natural language (“pan right,” “zoom out slowly,” etc.)
🎥 Motion intensity settings:
• Low motion: Subtle movement (e.g., only the subject moves).
• High motion: Dynamic movement (camera & subject), but can sometimes produce quirky artifacts
⚙️ Capabilities:
• Video length: 5–21 seconds
• Resolution: Up to 480p
• Cost: ~8× the cost of a standard image .
• Access: Web and Discord; requires a paid subscription (starts around US $10/mo for basic usage)
⸻
📊 Strengths & Limitations
📈 Strengths:
• Fast and intuitive: Animate in one click or with simple prompts.
• Great for simple, single-subject videos—storytelling, promos, social posts.
• Unique “high motion” and “low motion” modes let you control style.
📉 Limitations:
• Short clips only (max 21 sec).
• 480p quality, so not ideal for high-res final outputs .
• Expensive for long-form use (Pro tier better suited)
• May struggle with complex scenes, multiple subjects, realistic expressions.
⸻
💡 How You Can Use This:
1. Storyboard Creation
Create initial storyboards by animating key Midjourney images. Perfect for visual planning.
2. Social Clips
Make 5–21 second motion clips for Reels or Insta Stories that are eye-catching and quick to produce.
3. Brand Enhancers
Animate logo reveals, product showcases, or behind-the-scenes visuals with simple camera movement.
4. Course Teasers
Use short animated clips as module intros in your AI or marketing training materials.
5. Enhancing Longer Videos
Export the animated clip, upscale with tools like Topaz or Cupscale, then finalize in CapCut or Canva with voice, subtitles, seamless transitions, and color grading.
⸻
✅ How to Get Started
1. Ensure you’re using Midjourney v7:
• Add –v7 to your prompt or set v7 as default in Settings.
2. Generate your image:
• Think 16:9 layout for video clarity (e.g. –ar 16:9).
3. Click “Animate” (web or Discord):
• Choose Automatic or Manual.
• Pick low or high motion.
• Use Manual for tailored movement (“drone hovering over a beach”).
4. Extend your clip:
• Add 4‑second increments up to 21 seconds.
• Download the video (it’ll be up to 480p).
5. Post-process:
• Upscale externally (Topaz, Cupscale) for HD or 4K.
• Add music, narration, text overlays, and transitions in video editors like CapCut, Canva, or Descript.
⸻
🔧 Workflow Overview
Steps:
- Midjourney v7 Generate image (–v7 –ar 16:9)
- Animate On Midjourney: Automatic/manual, low/high motion
- Extend Up to 21 seconds
- Download Video file (~480p)
- Upscale Use Topaz or Cupscale if needed
- Edit CapCut/Canva: add audio, CTA text
- Publish Reels, YouTube short, course content
⸻
🤔 Is It Right for You?
• Yes, if you want quick, engaging visual content without heavy post-production.
• Maybe not, if you’re after *high-res, complex animations, or long videos—still too early stage.
• Best used in hybrid workflows—combine Midjourney video with external editors and upscalers for polished results.
⸻
MJ v7 Image Creation to Video Creation example videos attached used the following prompt: flying over southern alps across Canterbury Plains in New Zealand (used first for image then again for video)
0 Comments